You might have the best keyboard switches and a high-end aluminum case, but if your stabilizers are noisy, the typing experience will feel cheap. Learning how to lube and tune your stabilizers is the single most effective way to transform a standard deck into a enthusiast-grade masterpiece. This guide covers everything from basic greasing to the advanced Holee mod, ensuring your custom keyboard sounds as good as it looks.

Why Stabilizers Matter: Solving the Rattly Spacebar Problem
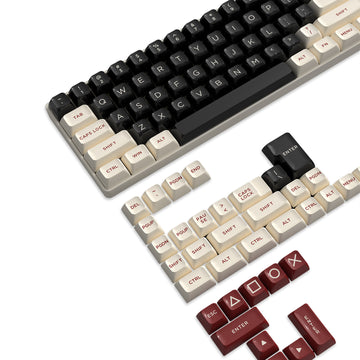
Stabilizers, often called "stabs," are the mechanical components used to support longer keys like the Spacebar, Enter, Shift, and Backspace. Without them, pressing one side of a long key would cause it to tilt or wobble. Even on the best mechanical keyboards for gaming, stock stabilizers are frequently the weakest link. They often come with too little lubricant or poorly fitted parts, leading to a distracting "ticking" or "rattling" sound every time you type.
The goal of tuning stabilizers is to eliminate metal-on-plastic contact noise. When you press a key, the metal wire inside the stabilizer housing can vibrate against the plastic walls. By applying the right lubricants and ensuring the components are perfectly aligned, you create a dampened, smooth motion. This results in the sought-after "thocky" or "creamy" sound signature that distinguishes high-quality custom keyboards from mass-produced office peripherals.
Beyond acoustics, well-tuned stabilizers improve the tactile feel of your keyboard. A rattly stabilizer often feels "scratchy" or inconsistent. Once tuned, the keypress feels uniform across the entire surface of the keycap. Whether you are using a budget hot swap keyboard or a top-tier enthusiast kit, taking the time to tune your stabilizers provides an immediate and noticeable upgrade to your daily typing and gaming sessions.
Preparation: Essential Tools and Choosing the Right Lubricant
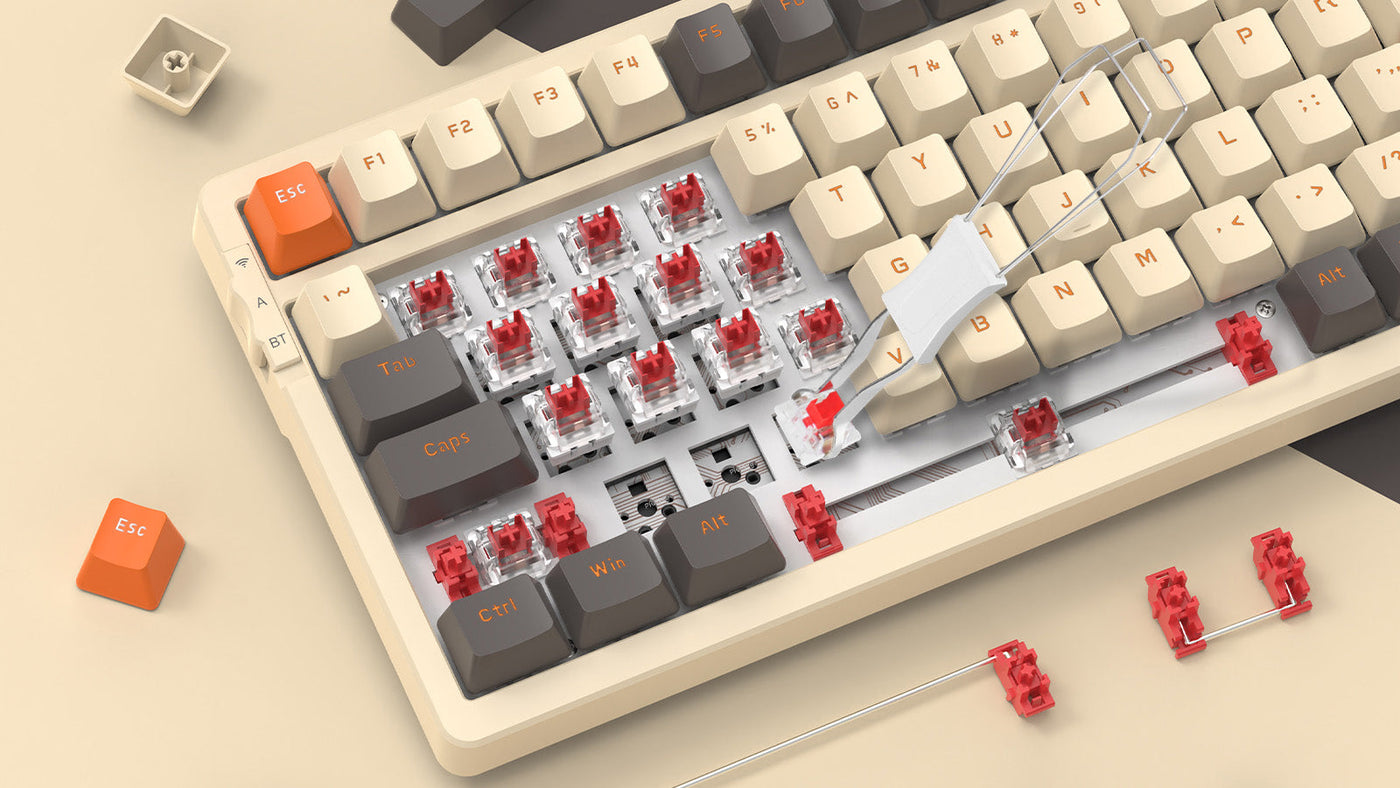
Before you begin, you need a clean workspace and specific tools. If you have a hot swap keyboard, you can easily pull the stabilizers out after removing the switches. If your board is soldered, you will need to desolder the switches first. Essential tools include a pair of fine-tip tweezers, a small paintbrush (size 0 or 00), a wire balancer (or a flat glass surface), and a small screwdriver or stabilizer puller.
Choosing Your Lubricants
The choice of lubricant is critical. For the stabilizer housings and stems, Krytox 205g0 is the industry standard. It is a thick grease that provides a smooth, buttery feel without being overly sluggish. You want to apply a thin, translucent layer to the internal walls of the housing and the sides of the stem where friction occurs. Avoid using thin oils intended for a keyboard switch, as they will migrate away from the stabilizer parts over time.
The Heavy Duty Option: XHT-BDZ
For the stabilizer wire, many builders prefer Krytox XHT-BDZ. This is an extremely thick, high-viscosity grease designed specifically to eliminate wire rattle. Unlike 205g0, which can sometimes be too thin to bridge the gap between a loose wire and a plastic stem, BDZ stays exactly where you put it. If you cannot find BDZ, a thick dielectric grease (like Permatex) is a common and affordable substitute that works well for the wire ends.

Wire Balancing: The Foundation of a "Thocky" Sound
Wire balancing is the process of ensuring the metal wire is perfectly flat. If one end of the wire is slightly higher than the other, it will strike the housing unevenly, causing a persistent ticking sound. To check this, place your wire on a perfectly flat surface, such as a smartphone screen or a piece of glass.
Tap the ends of the wire with your finger. If you hear a "clink" or see the wire move, it is bent. To fix it, hold the center of the wire with one hand and use your other hand to gently twist the bent end in the opposite direction. Work in tiny increments. It requires patience, but achieving a perfectly flat wire is 80% of the battle in achieving a silent, rattle-free spacebar.
Once the wire is flat, you can prepare it for installation. Clean any factory residue off the wire using isopropyl alcohol. A clean surface ensures that your new lubricant adheres properly. Balancing your wires is a step often skipped by manufacturers, which is why even the best mechanical keyboards for gaming can benefit from a manual tune-up during the assembly process.
The Pro Mod: Step-by-Step Holee Mod for Zero Rattle
The Holee mod involves placing a small piece of dampened material inside the stabilizer stem to cushion the wire. This is widely considered the "gold standard" for removing rattle in custom keyboards.
- Prepare the Material: Cut a tiny strip of adhesive bandage (Band-Aid) or specialized stabilizer tape. The strip should be roughly 2mm wide and 1cm long.
- Thread the Stem: Using tweezers, feed the strip through the top hole of the stabilizer stem and out through the bottom hole where the wire usually sits.
- Secure the Tape: Fold the ends of the tape over the plastic edges so it sticks firmly. The goal is to create a "padded tunnel" for the wire.
- Trim Excess: Use sharp scissors to trim any overhanging tape. If the tape is too thick, the stabilizer might feel "mushy," so ensure the material is thin and flush against the plastic.
- Lube the Tunnel: Apply a small amount of Krytox 205g0 inside the taped area before inserting the wire. This provides a soft, lubricated landing spot for the metal wire, virtually eliminating any chance of plastic-on-metal ticking.
Why Factory Pre-Lubed Stabilizers Still Need Your Touch
Factories typically use a "glob and go" method, applying a large amount of low-quality grease in hopes of masking rattle. This often results in a "sticky" feeling where the spacebar takes a fraction of a second too long to return to its original position after being pressed.
If your stabilizers feel sluggish or "mushy," you should clean off the factory grease and start fresh. Use a paper towel or a sonic cleaner to remove the old lubricant entirely. Manufacturers often overlook wire balancing as well, meaning your "pre-lubed" stabs might still tick because the wire itself is warped. By taking control of the process, you ensure that the amount of lube is perfectly balanced for both sound and speed.
Furthermore, factory lube can sometimes leak onto the PCB of your mechanical keyboard, potentially causing issues with the keyboard switch contacts over time. By manually tuning your stabs, you can use high-quality materials like 205g0 and XHT-BDZ that stay in place. This not only sounds better but also protects the longevity of your hardware, ensuring your gaming or typing experience remains consistent for years.

Testing & Maintenance: How to Fix Sticky Keys and Over-Lubing
Testing should be done before you put all the keycaps back on to save time if adjustments are needed.
- The Tap Test: Gently tap the corners of the spacebar without fully pressing the key. If you hear a sharp metallic sound, you may need to add a bit more grease to the wire ends using a syringe.
- Fixing Sluggishness: If the key feels heavy or gets stuck, you have over-lubed. You can often fix this by using a clean brush to "wick away" excess grease from the housing without fully disassembling the board.
- Check for Interference: Ensure the stabilizer stems are facing the right direction. The side with two holes should usually face the wire. If installed backward, the key will not move at all.
- Regular Cleaning: Over months of use, dust can mix with the lubricant, making it gritty. Every six months, use a small brush to clear away debris from the edges of the stabilizer housings.
- Keycap Fit: Sometimes the rattle comes from a loose keycap stem rather than the stabilizer. If the keycap feels loose on the stabilizer stems, place a tiny square of cling film over the stem before pressing the keycap down to create a tighter fit.
Conclusion: Mastering the Art of Stabilizer Tuning
Tuning stabilizers is a rite of passage for anyone entering the world of custom keyboards. While it requires patience and a steady hand, the results are the most rewarding part of the hobby. By balancing your wires, choosing the right lubricants like Krytox 205g0, and applying the Holee mod, you can eliminate rattle entirely. Your mechanical keyboard will no longer sound like a bucket of bolts, but rather a precision-tuned instrument that provides a satisfying, deep "thock" with every single keystroke.
FAQ
Q1: Can I use WD-40 or Vaseline to lube my stabilizers?
A: No. Never use petroleum-based products or household lubricants. They can degrade the plastic of your keyboard and stabilizers over time, leading to permanent damage. Stick to keyboard-specific greases like Krytox.
Q2: What is the difference between Plate-Mount and Screw-In stabilizers?
A: Plate-mount stabs clip into the metal plate of the keyboard, while screw-in stabs are secured directly to the PCB. Screw-in versions are generally preferred for custom keyboards as they are more secure and vibrate less.
Q3: Do I need to lube the stabilizers on a brand new keyboard?
A: If you are happy with the sound, no. However, most enthusiasts find that even "best-in-class" gaming keyboards benefit significantly from a manual tuning to remove the default rattle and ping.
Q4: How much lube is "too much"?
A: If the stabilizer stem does not return quickly after being pressed, or if you see grease oozing out of the sides, you have used too much. You want a thin, even coating that looks "cloudy" but not "gloppy."