


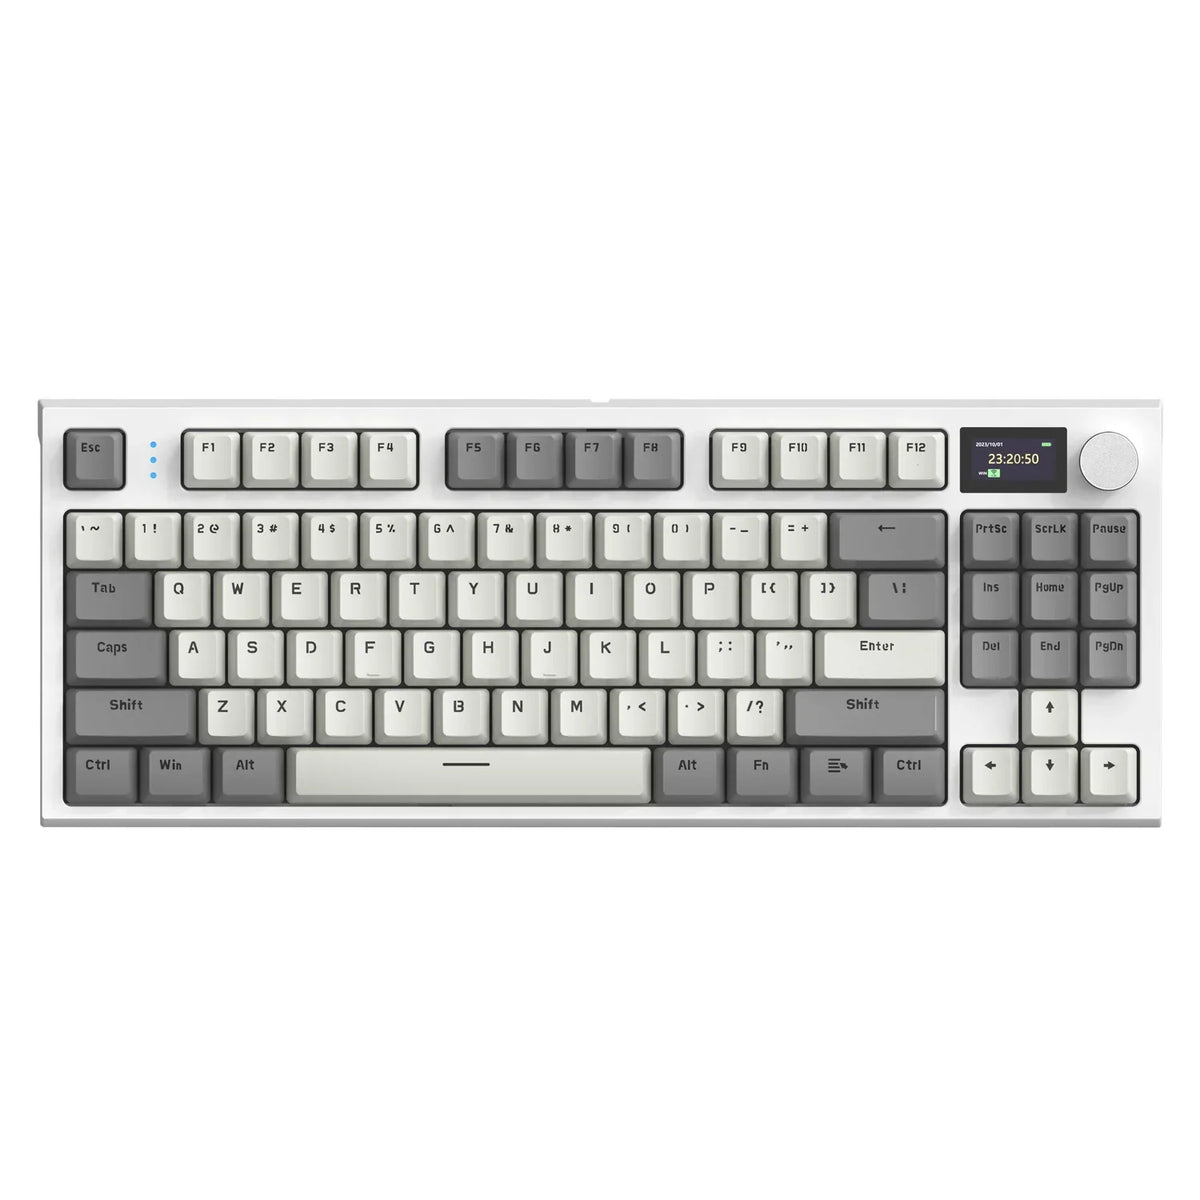
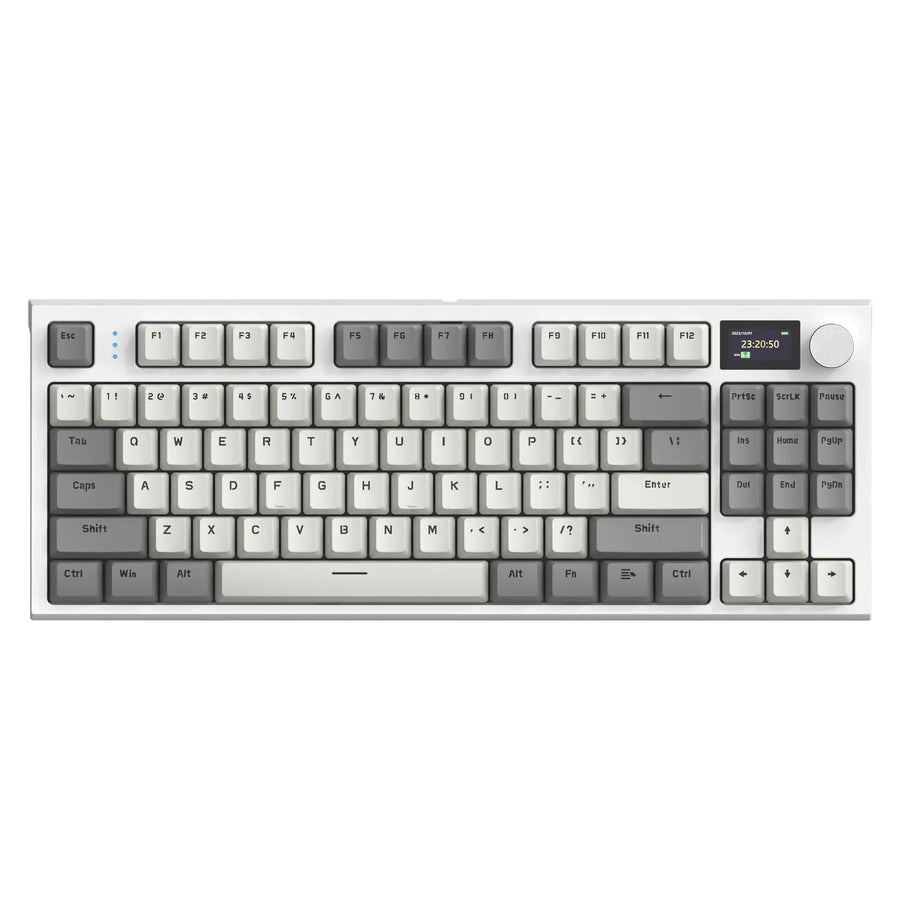
A good yellow mechanical keyboard has to pass two tests: it has to look intentional on your desk, and it has to hold up as a keyboard once the color stops being the point. Start by picking the visual direction, industrial or retro, that actually matches your setup.
Then narrow the layout to your real desk space and daily key use, and check the documented build details before you trust any acoustic or durability claim.
Key Takeaways
- Pick a yellow style first: industrial for high-contrast, technical desks, retro for warmer, softer setups. Style is a visual filter, not a quality signal.
- Match the layout to how you actually work: full-size for number-pad users, TKL or 75% for a smaller footprint with dedicated navigation keys, 65%/60% only if you accept layers.
- Named build features like PC plates, gasket mounts, foam layers, and hot-swap sockets are documented construction details, not a guarantee of feel or sound.
- Foam and dampening layers show a manufacturer's design intent, not a measured or promised quiet result.
- Confirm the exact colorway, layout, specifications, accessories, and return terms on the live listing before you order.
Start With the Yellow Look You Want
Yellow keyboards generally split into two visual directions: a sharper industrial look or a warmer retro one. Pick the one that already matches the rest of your desk, since color alone does not tell you anything about build quality.
Industrial Yellow: Sharper Contrast and Utility
Industrial yellow leans on strong contrast: bright or safety yellow paired with black, gunmetal gray, or brushed metal-look accents. It fits a desk that already has a technical, high-contrast visual language, like dark monitors, black cable management, or exposed metal surfaces. Check that the yellow accents line up consistently across keycaps, case trim, and any side panels, since a mismatched shade reads as cheap even on an otherwise solid board.
Retro Yellow: Warmer Color and Softer Balance
Retro yellow uses a warmer, mustard, or cream-leaning tone, often with rounded keycap profiles or softer secondary colors like brown or off-white. This direction suits a vintage-inspired or playful desk setup better than a stark, high-contrast one. Look closely at the legends and accent colors: a retro board still needs a coherent palette, not just one yellow row dropped onto an otherwise plain keyboard, or the effect starts to look more novelty than deliberate.

Choose a Layout That Fits Your Desk and Workflow
Layout is a workflow decision, not a style choice: smaller boards free up desk space by dropping keys you may use every day. As boards shrink from full-size toward 60%, the number pad, arrow cluster, and function row disappear in stages, so the right size depends on which of those keys you actually rely on, a distinction laid out in this keyboard size guide.
| Layout | Dedicated keys retained | Desk-space consequence | Main compromise |
|---|---|---|---|
| Full-size (100%) | Number pad, arrows, function row, home cluster | Largest footprint, least mouse room | Takes the most desk space |
| TKL (80%) | Arrows, function row, home cluster | Drops the number pad, frees several inches | No dedicated number entry |
| 75% | Arrows and home cluster, condensed | Similar footprint to TKL, tighter key spacing | Denser layout takes adjustment |
| 65%/60% | Fewer or no arrows, no function row | Smallest footprint, most mouse room | Missing keys often require layers |
Choose full-size only if you enter numbers often enough that a number pad earns its space. Choose TKL or 75% when you still want dedicated arrows and function keys but want a smaller footprint for your mouse. Choose 65% or 60% only if you are comfortable using a function layer or shortcut combo for keys the board leaves out, and always confirm the exact key count and arrangement on the product page rather than trusting the layout name alone. If your desk and typing habits are still unclear, our keyboard size guide walks through matching board size to available space.
Check the Parts That Make a Keyboard Feel Intentional
A yellow keyboard feels intentional when the listing names specific components, not just a bright color. Work from the parts you can see to the ones you can't: keycaps and legends first, then the mount, plate, switches, and stabilizers underneath.
Visible Components: Keycaps and Legends
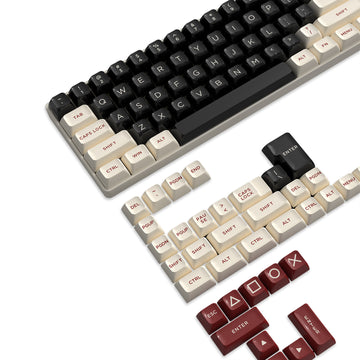
- Check whether the listing names PBT, ABS, or another material; PBT keycap sets generally feel more textured and resist the shine that ABS develops over time, while ABS tends to feel smoother early on.
- Look for whether legends are described as double-shot, since that method lets light pass through the legend rather than printing on top of it.
- Compare keycap profile and finish across product photos for consistency; a mismatched sheen between rows is a visible sign of an inconsistent set.
- Treat the material name as one component-level signal. It tells you about that part, not about the whole board.
Internal Components: Mount, Plate, Switches, and Stabilizers
- Confirm the mounting style (gasket mount, tray mount, or another design) and the plate material, since these affect how the board is put together.
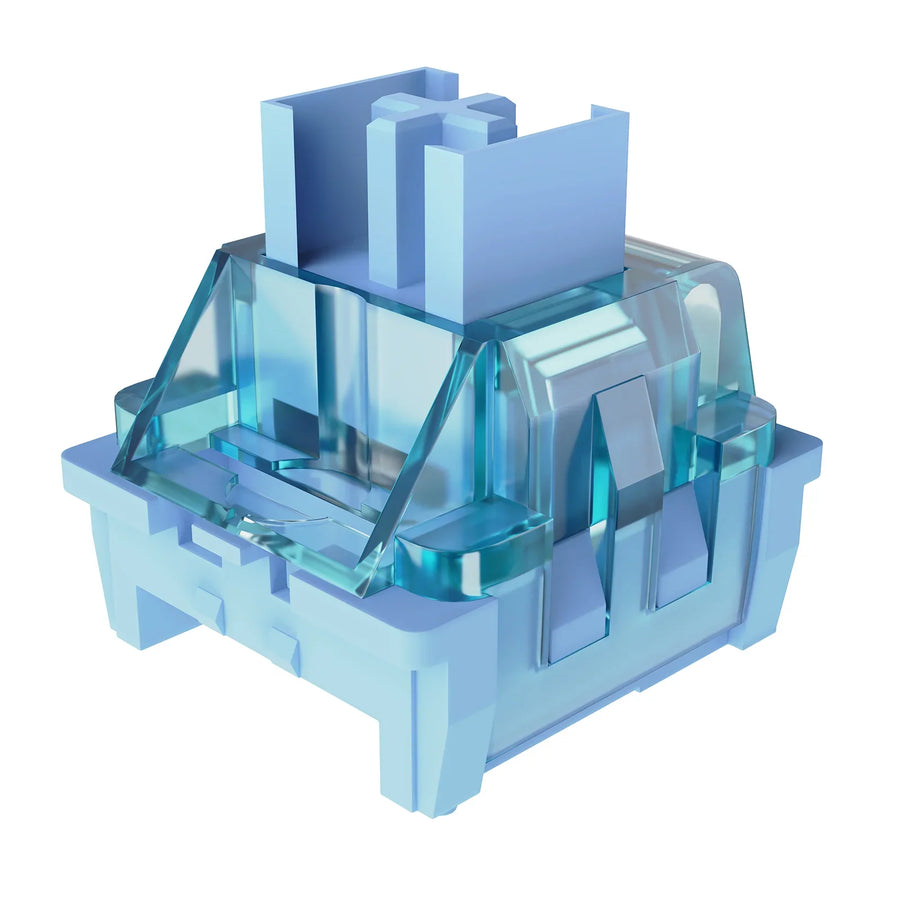
- Confirm the switch type and whether it is linear, tactile, or clicky, along with any hot-swap compatibility if you want to change switches later.
- Look for stabilizer information where it's listed, since stabilizers affect how larger keys like the space bar sit and travel.
- Prefer listings that name these parts specifically instead of using vague phrases like "premium build" with no supporting detail.
Two current store examples show what a documented spec sheet looks like. The K86 wireless keyboard is an 86-key, 75% ANSI US board built with a PC plate, gasket mount, triple sound-absorbing foam, a hot-swap socket compatible with 3-pin and 5-pin switches, linear switches, and double-shot PBT keycaps. It suits shoppers who want dedicated navigation and function keys in a smaller footprint. The X66 wireless keyboard is a 66-key compact board with a leaf-spring gasket mount, five layers of sound-dampening foam, hot-swap support, linear switches, and OEM/PBT double-shot keycaps, which fits a desk-space-first buyer who is comfortable with fewer dedicated keys. Neither listing's supplied specifications confirm a yellow colorway, so treat them as build-check examples rather than a yellow recommendation until you verify the live color option.
Read Acoustic-Dampening Claims as a Specification Check
Acoustic-dampening language is a specification claim, not a sound measurement. Read it in three steps so a long features list doesn't turn into an assumption about how the board will actually sound.
- Identify the named component: foam layers, a switch pad, or a gasket mount are examples of documented construction choices meant to influence sound and feel.
- Separate that component from a performance promise. A board with three or five foam layers is not automatically quieter, deeper, or more premium-sounding than one with fewer layers; the listing is telling you what's inside, not what it sounds like on your desk.
- Decide if the remaining uncertainty is acceptable. If sound quality is a deciding factor for your purchase, look for a compatible review or rely on the retailer's return window rather than the parts list alone.
Run a Five-Point Pre-Purchase Verification
Before you place the order, run through five checks that confirm the exact listing matches what drove your shortlist. This step applies the style, layout, and build decisions you've already made rather than reopening them.
- Confirm the live yellow or yellow-accented variant on the product page or selector, not just a gallery image.
- Confirm the exact key count, layout, and dimensions, and make sure any number pad, arrow cluster, or function row you need is included.
- Confirm the build details that mattered earlier: keycap material, switch type, mounting style, plate, and dampening layers where relevant.
- Confirm what's included in the box, such as extra switches, a keycap puller, or a dust cover, and check current stock status.
- Confirm the store's shipping timeline and return window for that exact listing, then proceed only if the remaining unknowns are acceptable for your priorities.
FAQs
Do PBT keycaps by themselves mean a keyboard is well built?
No. PBT is a practical indicator of keycap durability and surface texture, but it represents only one component. A keyboard also relies on its case, plate, mounting style, switches, stabilizers, and dampening layers. Before treating a yellow keyboard as well constructed, verify those internal specifications on the listing rather than relying on keycaps alone.
Does more internal dampening foam guarantee a quiet keyboard?
No. Multi-layer foam configurations document component design intent, but they do not guarantee a specific noise level or tone. Switch selection, keycap profile, case rigidity, and desk acoustics also shape keystroke sound. If acoustic profile is critical, combine the listed internal layers with independent audio tests or retailer return terms.
How do I verify that a keyboard listing is actually yellow before buying?
Check the active colorway selector on the product page rather than relying on promotional lifestyle photos. Ensure the chosen SKU description explicitly names the yellow or yellow-accented theme, and inspect the product details to confirm matching accent panels, keycap profiles, and base case colors.